The CHEAPEST and EASIEST way to set up OpenClaw (Previously Clawdbot, MoltBot)
This guide will help you set up ClawdBot (the AI agent that's currently taking over the internet) without dropping $600 on a dedicated Mac Mini. While the "Mac Mini Farm" aesthetic looks cool on Twitter, it’s far from the cheapest or most efficient way to get your personal AI running 24/7.
Why You DON'T Need a Mac Mini
The viral trend of buying Mac Minis for OpenClaw is based on a few myths:
- The "Apple Silicon Only" Myth: OpenClaw is built on Node.js. It runs perfectly on Linux, Windows (via WSL2), and even Raspberry Pis.
- The Cost Trap: A new M4 Mac Mini starts at $599. For the same price, you could run a high-performance VPS for 13 years.
- Physical Limitations: A Mac Mini requires a desk, a power outlet, and a stable home Wi-Fi connection. If your home internet blips, your "24/7" assistant goes offline.
The Solution: Use a Hetzner VPS or the AWS Free Tier. It’s faster to set up, costs about $4–$5 a month (or $0 on AWS), and stays online forever.
Step 1: Spin Up Your "Cloud Brain"
To keep OpenClaw active 24/7, we’ll use a Virtual Private Server (VPS).
We will use AWS for the example.
1. Sign up for AWS (https://aws.amazon.com/).
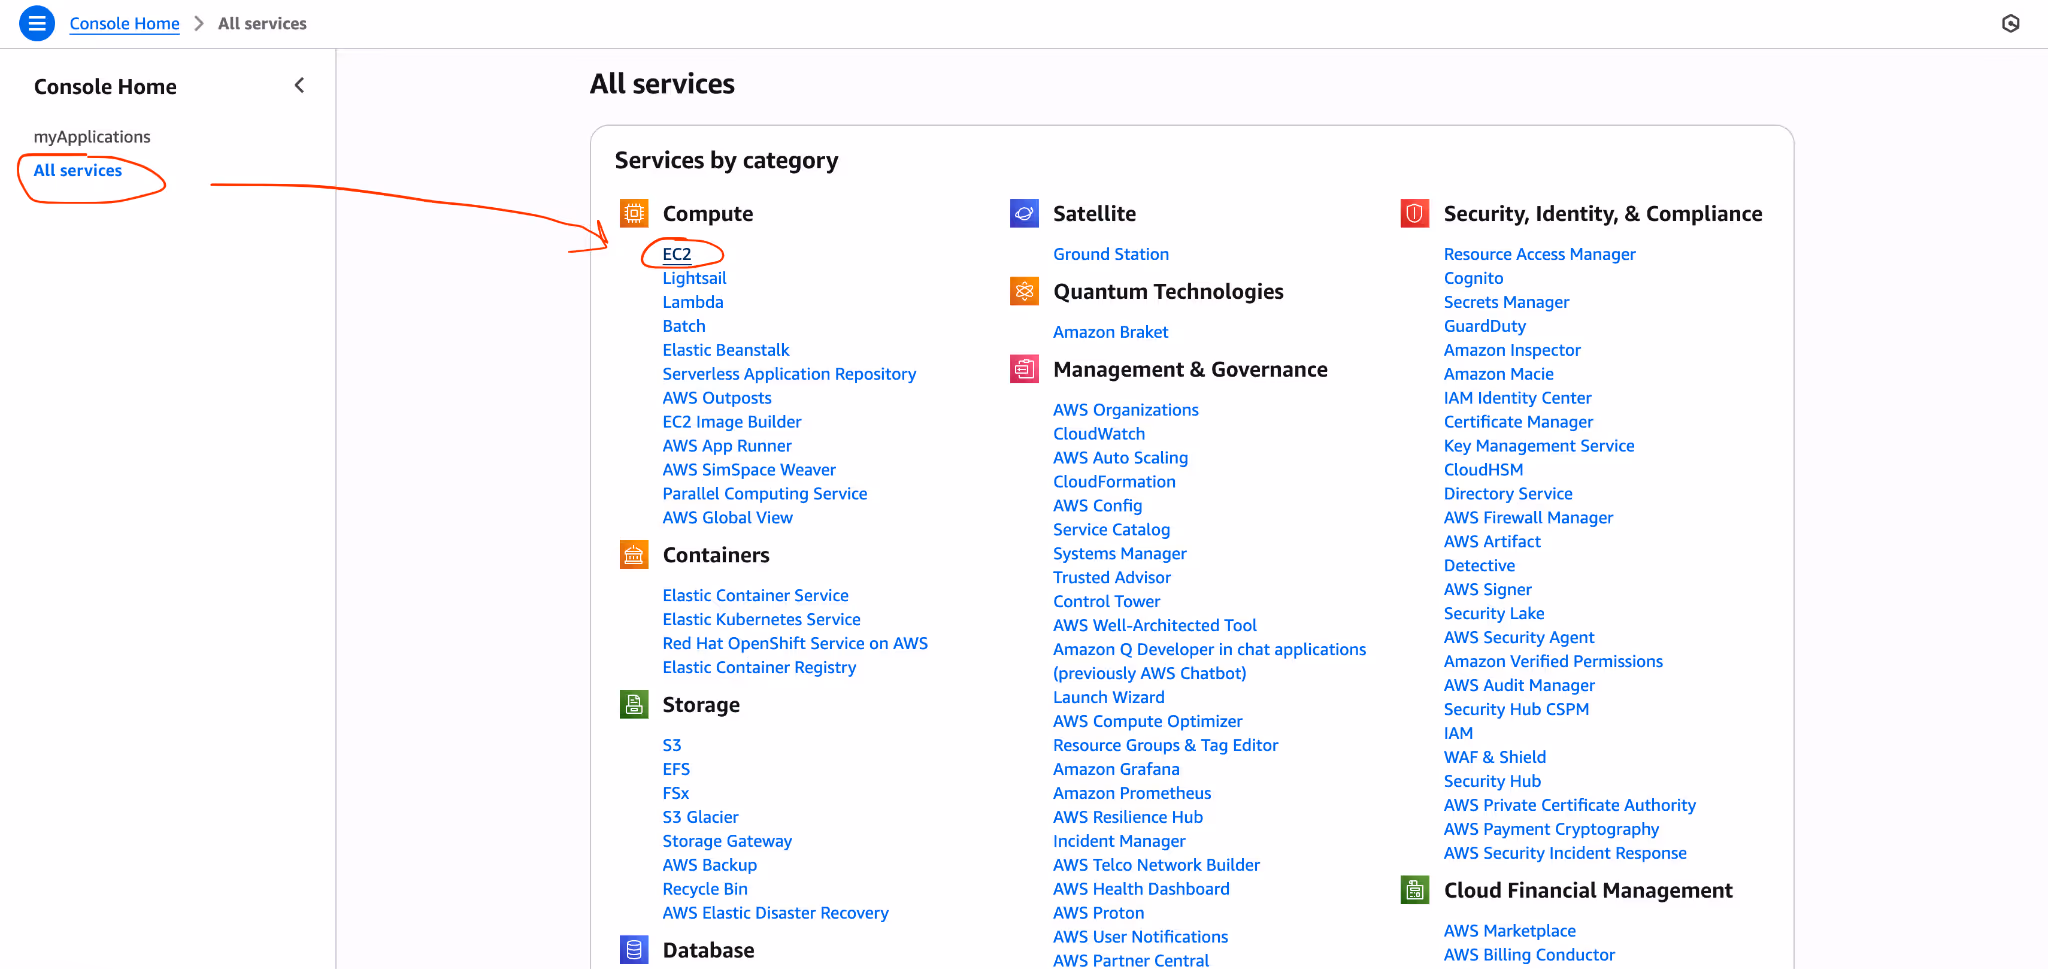
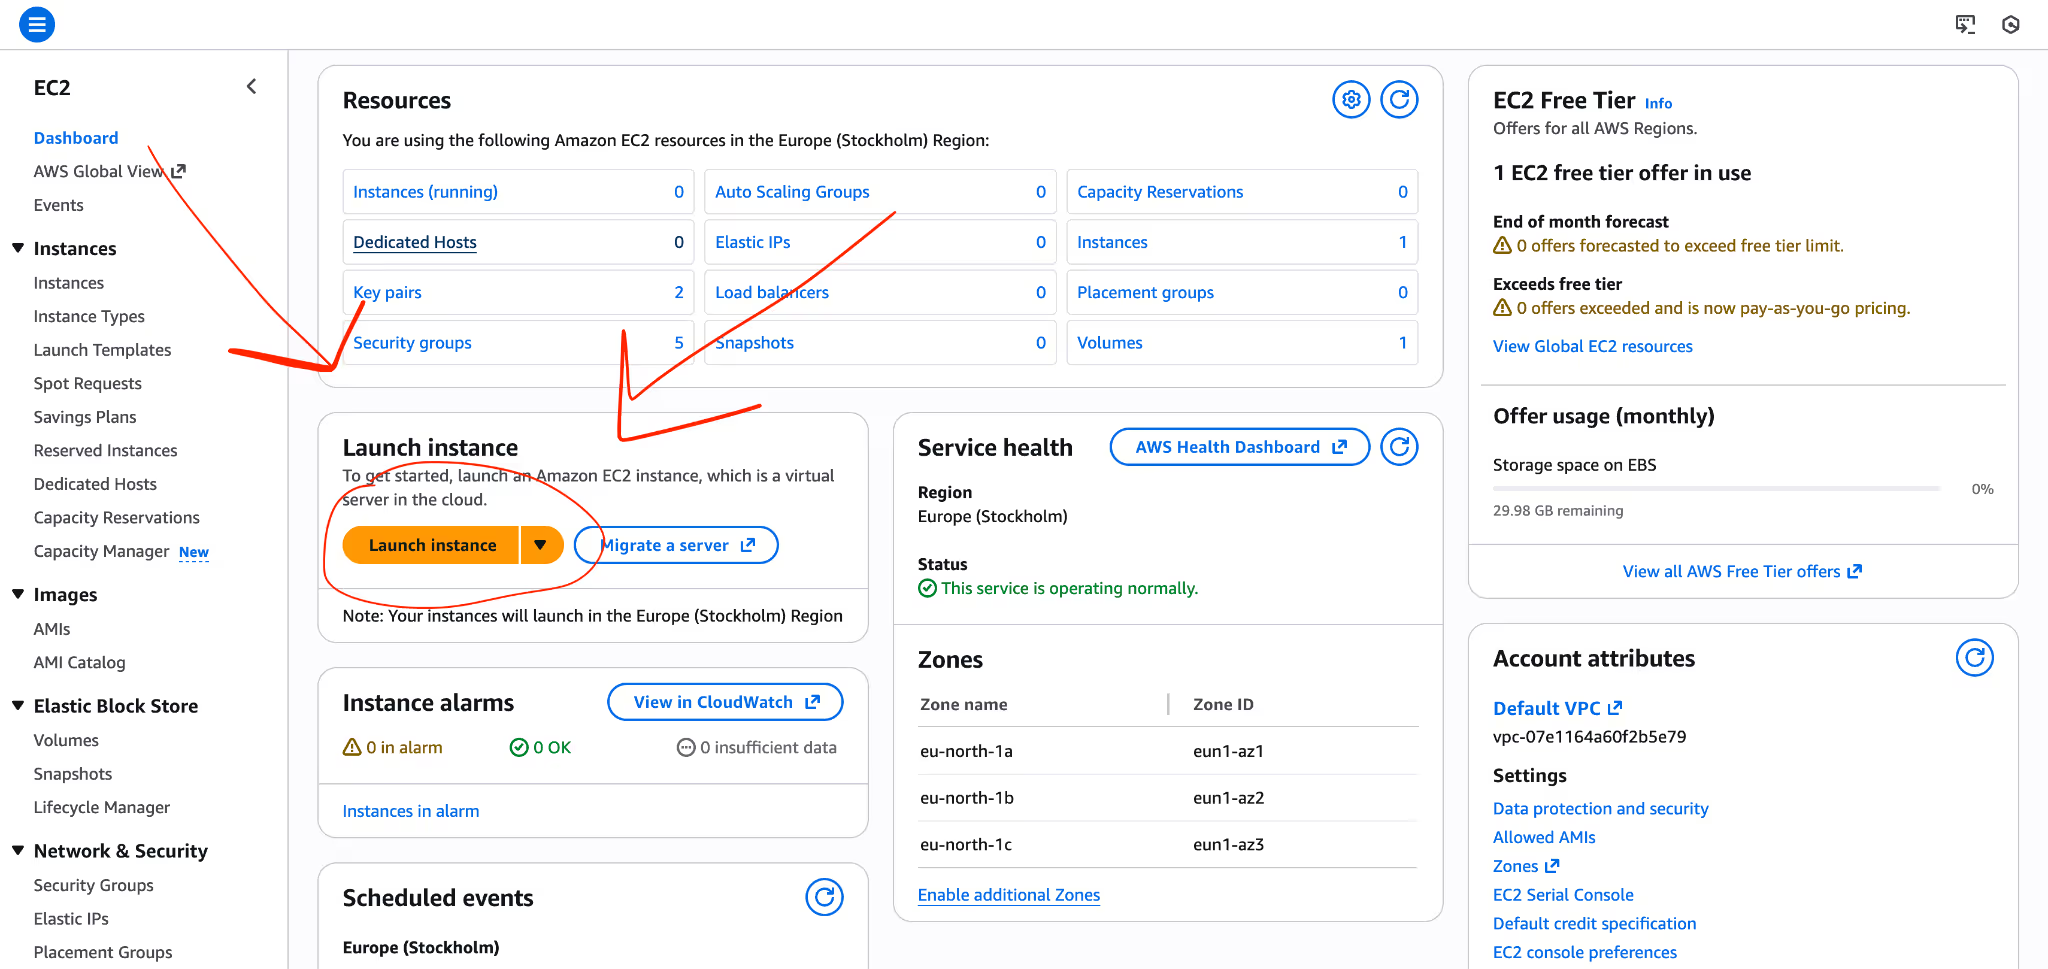
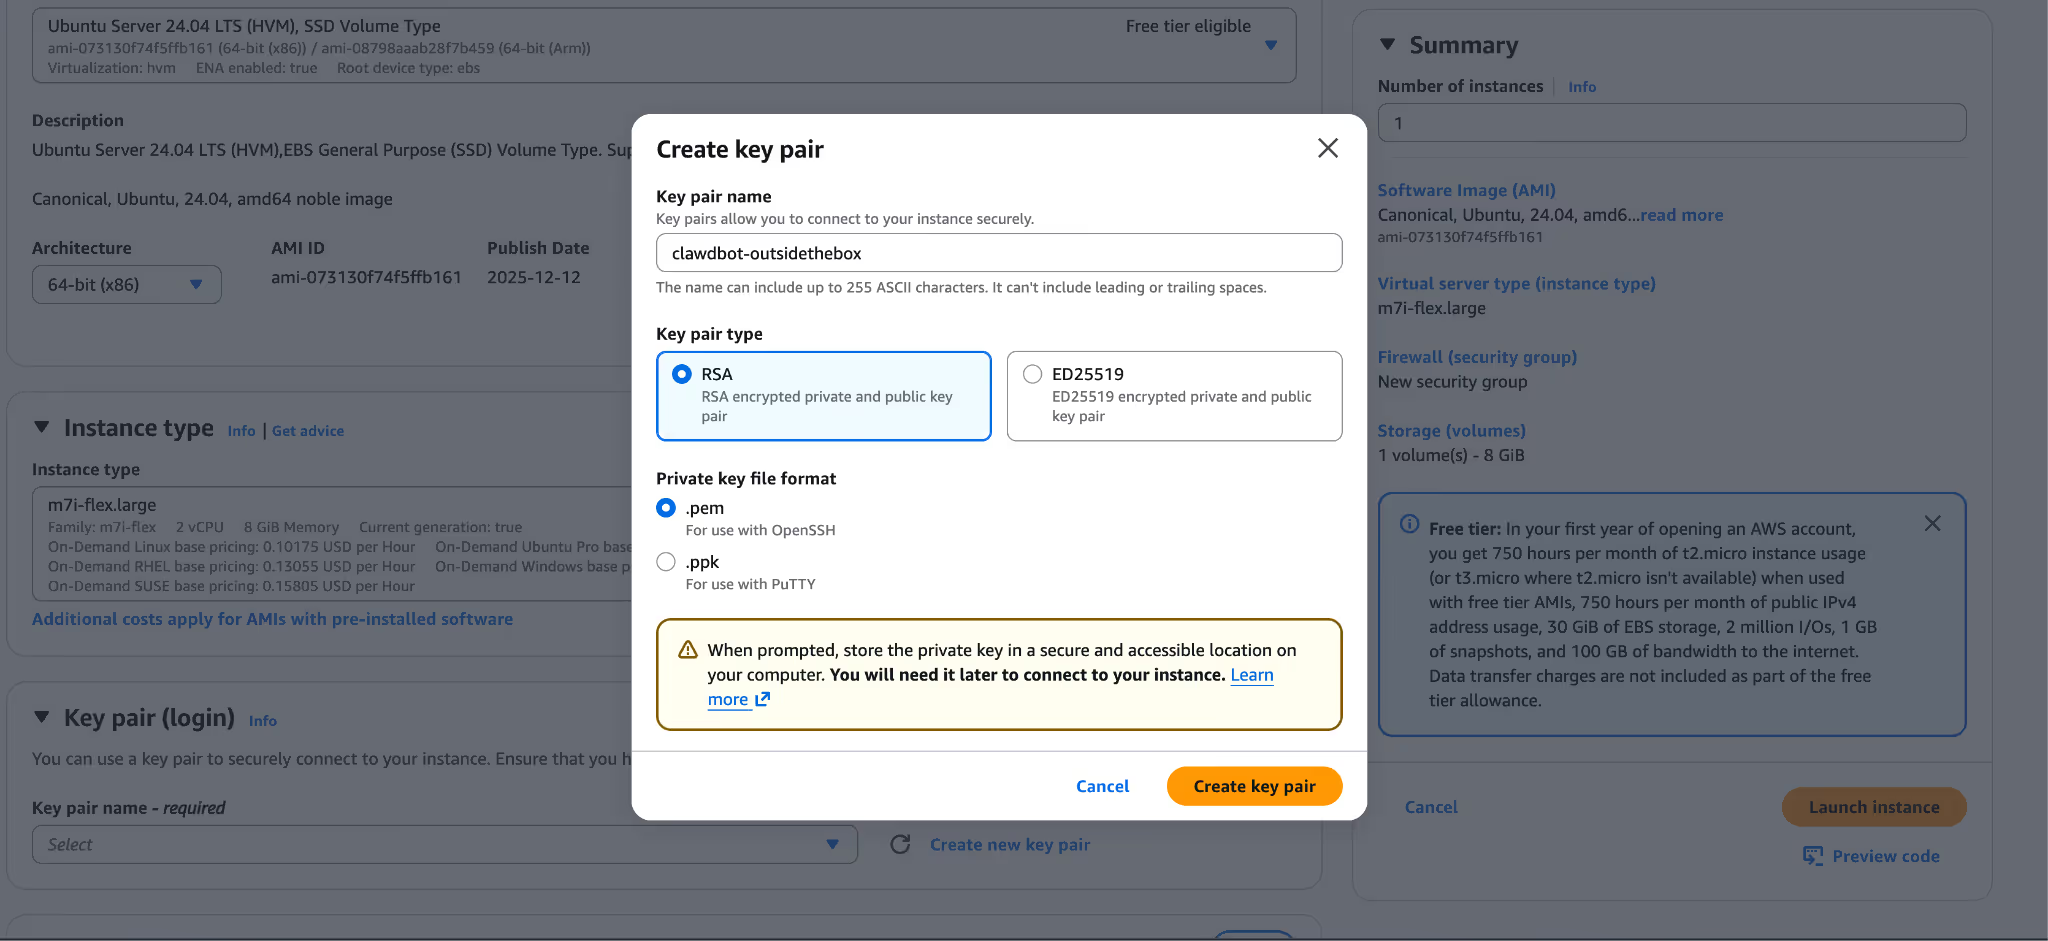
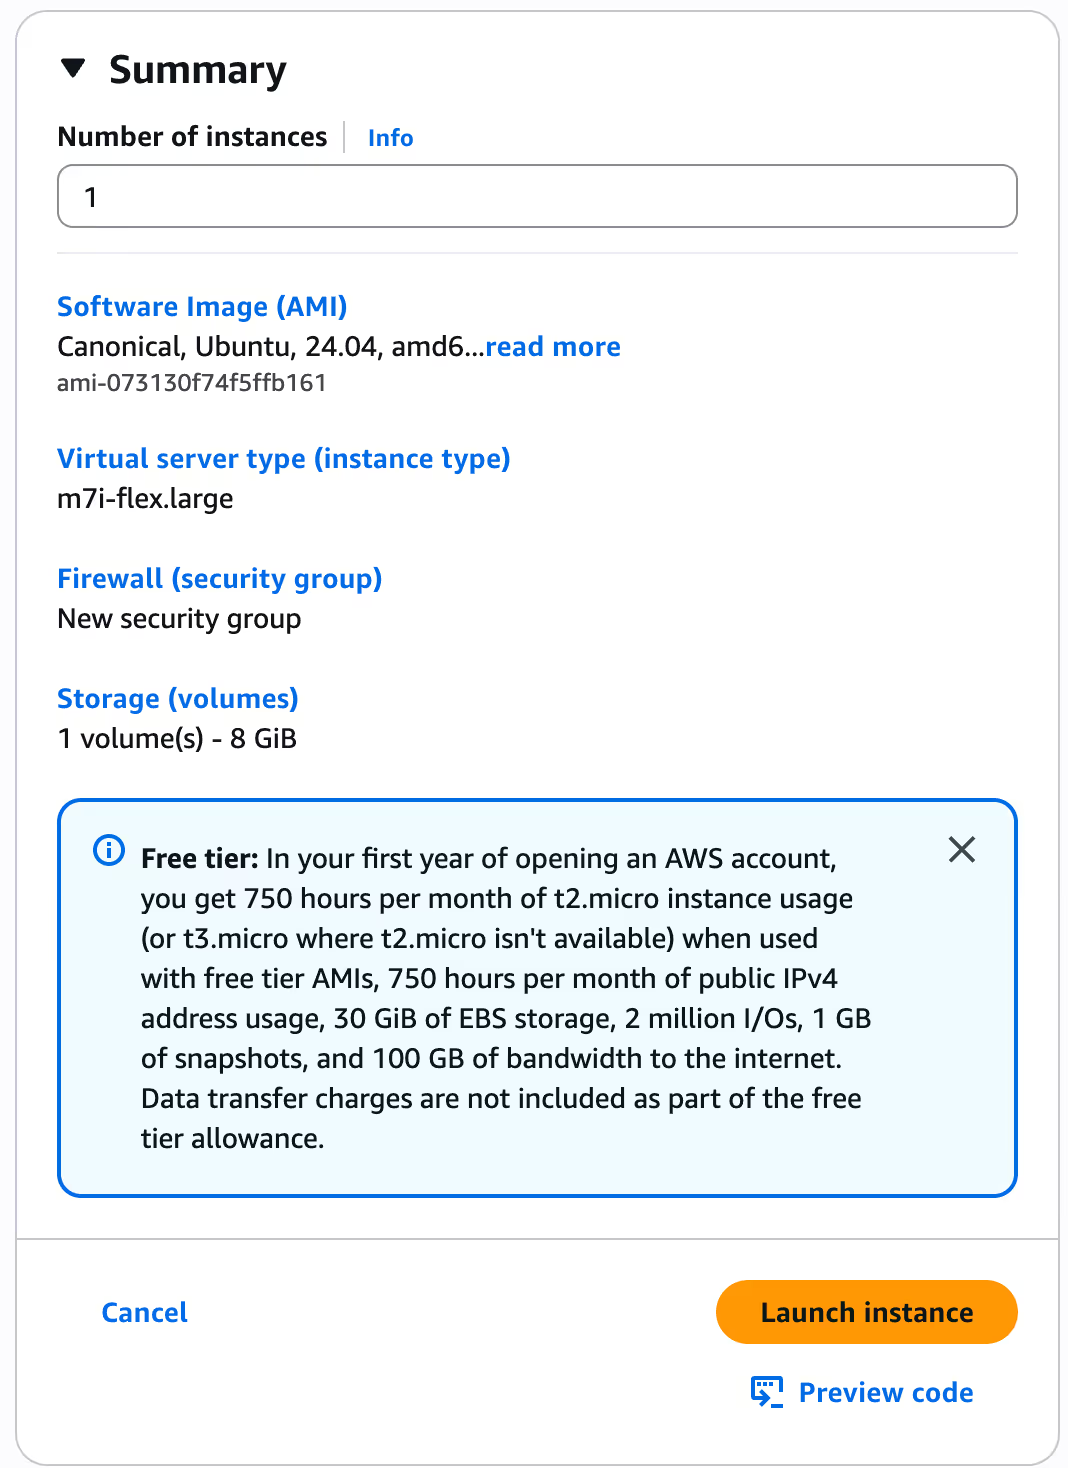
2. Create a new "Instance" (AWS).
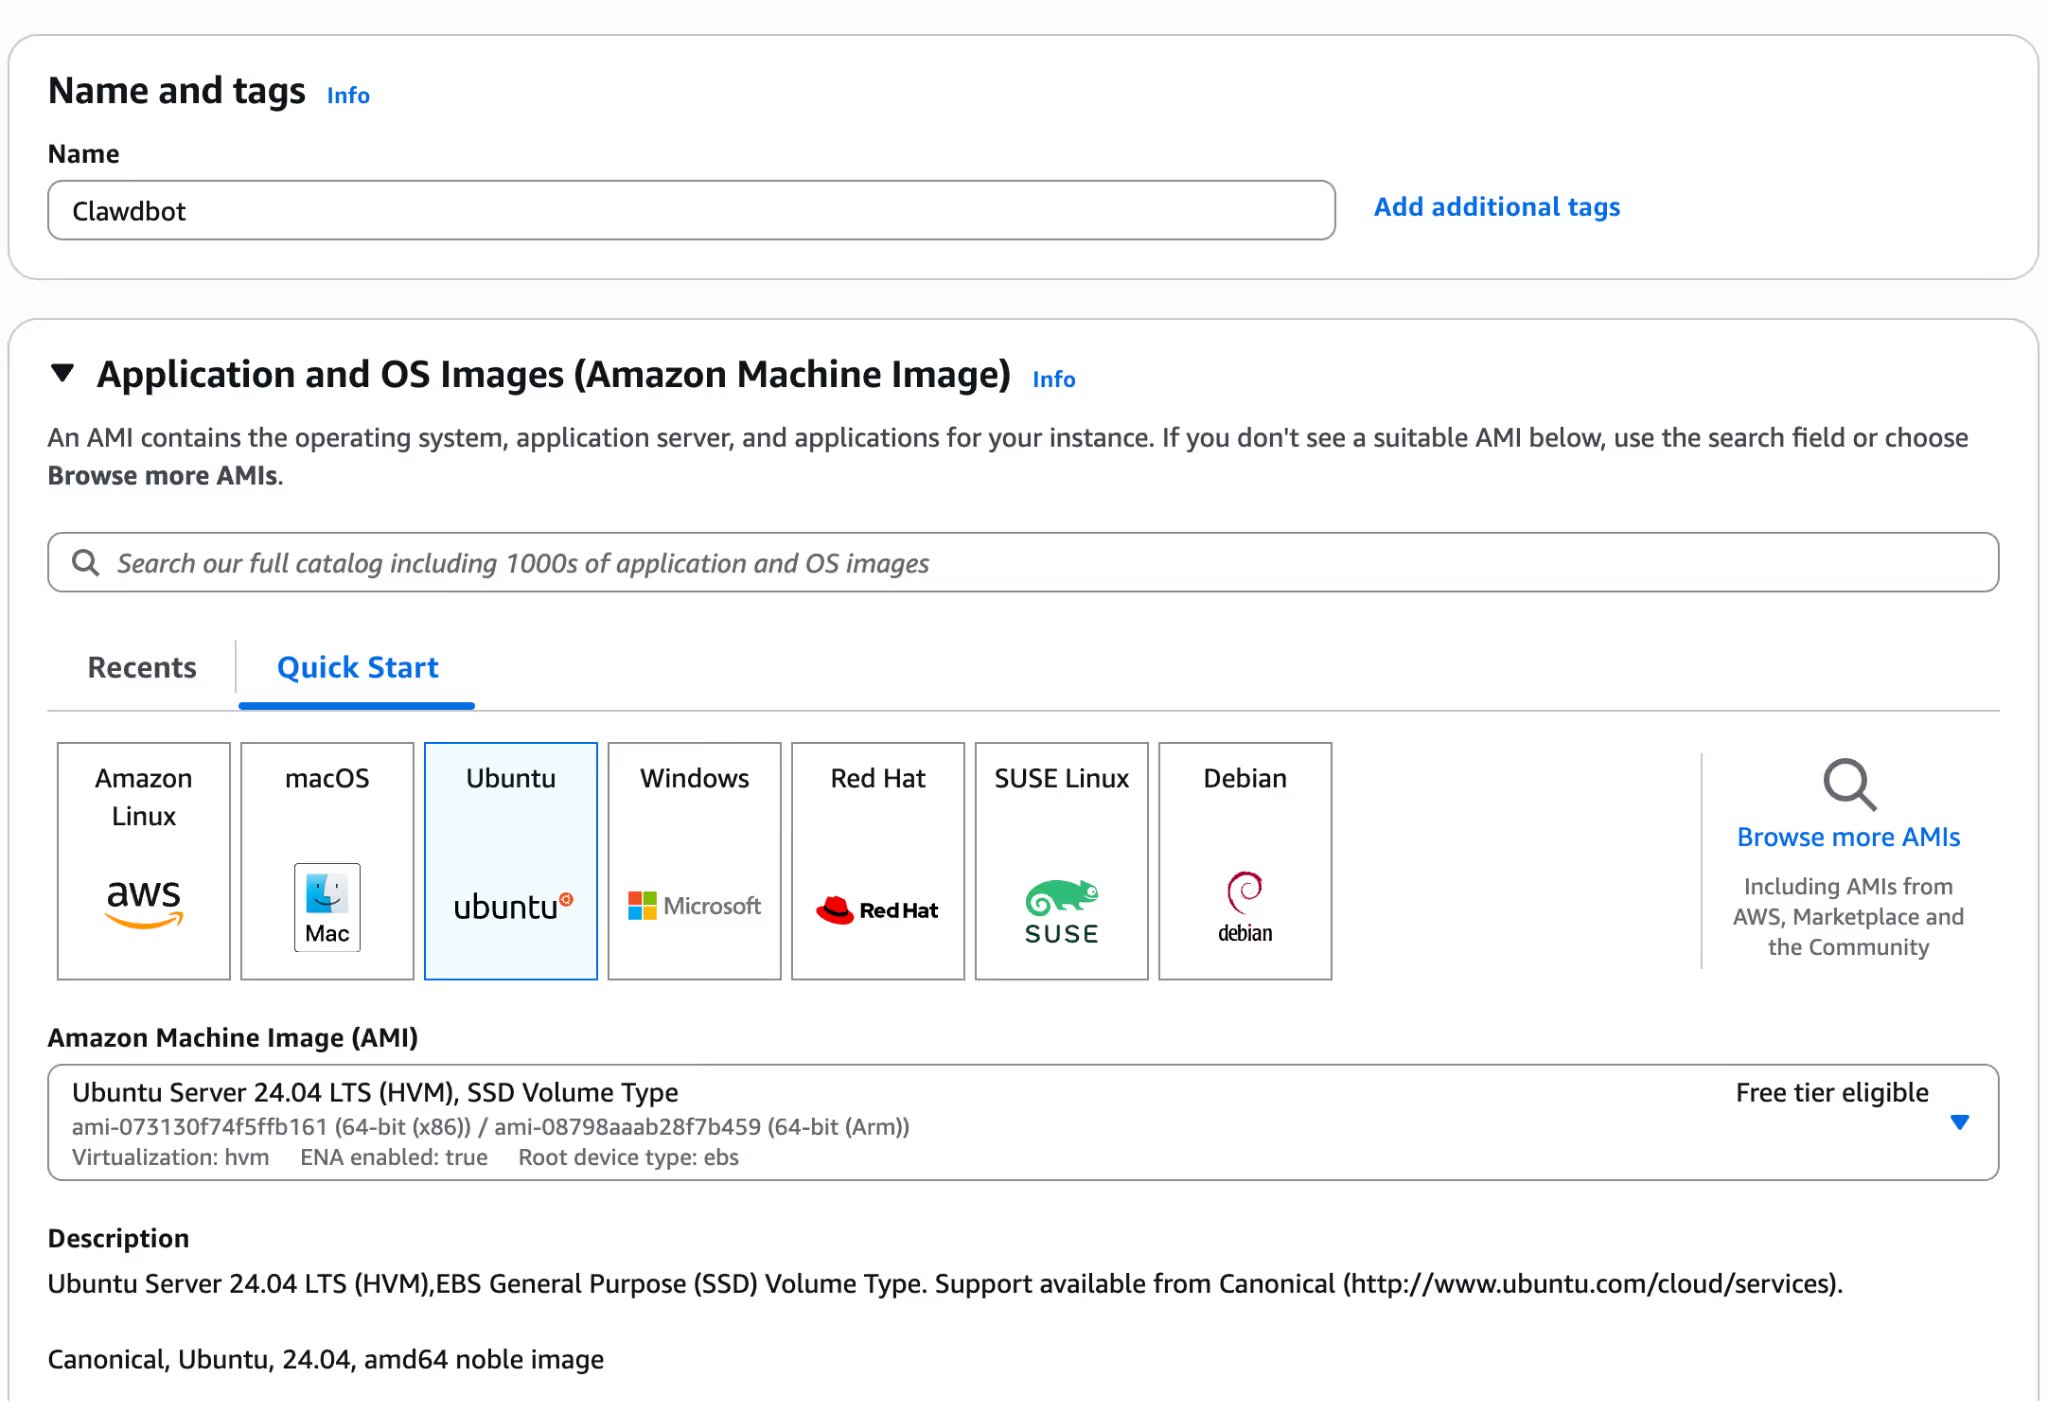
3. Specs needed: * OS: Ubuntu 24.04 LTS (Recommended).
- RAM: 2GB minimum (4GB is the sweet spot).
- Location: Pick the one closest to you for faster response times.


Step 2: The One-Line Install
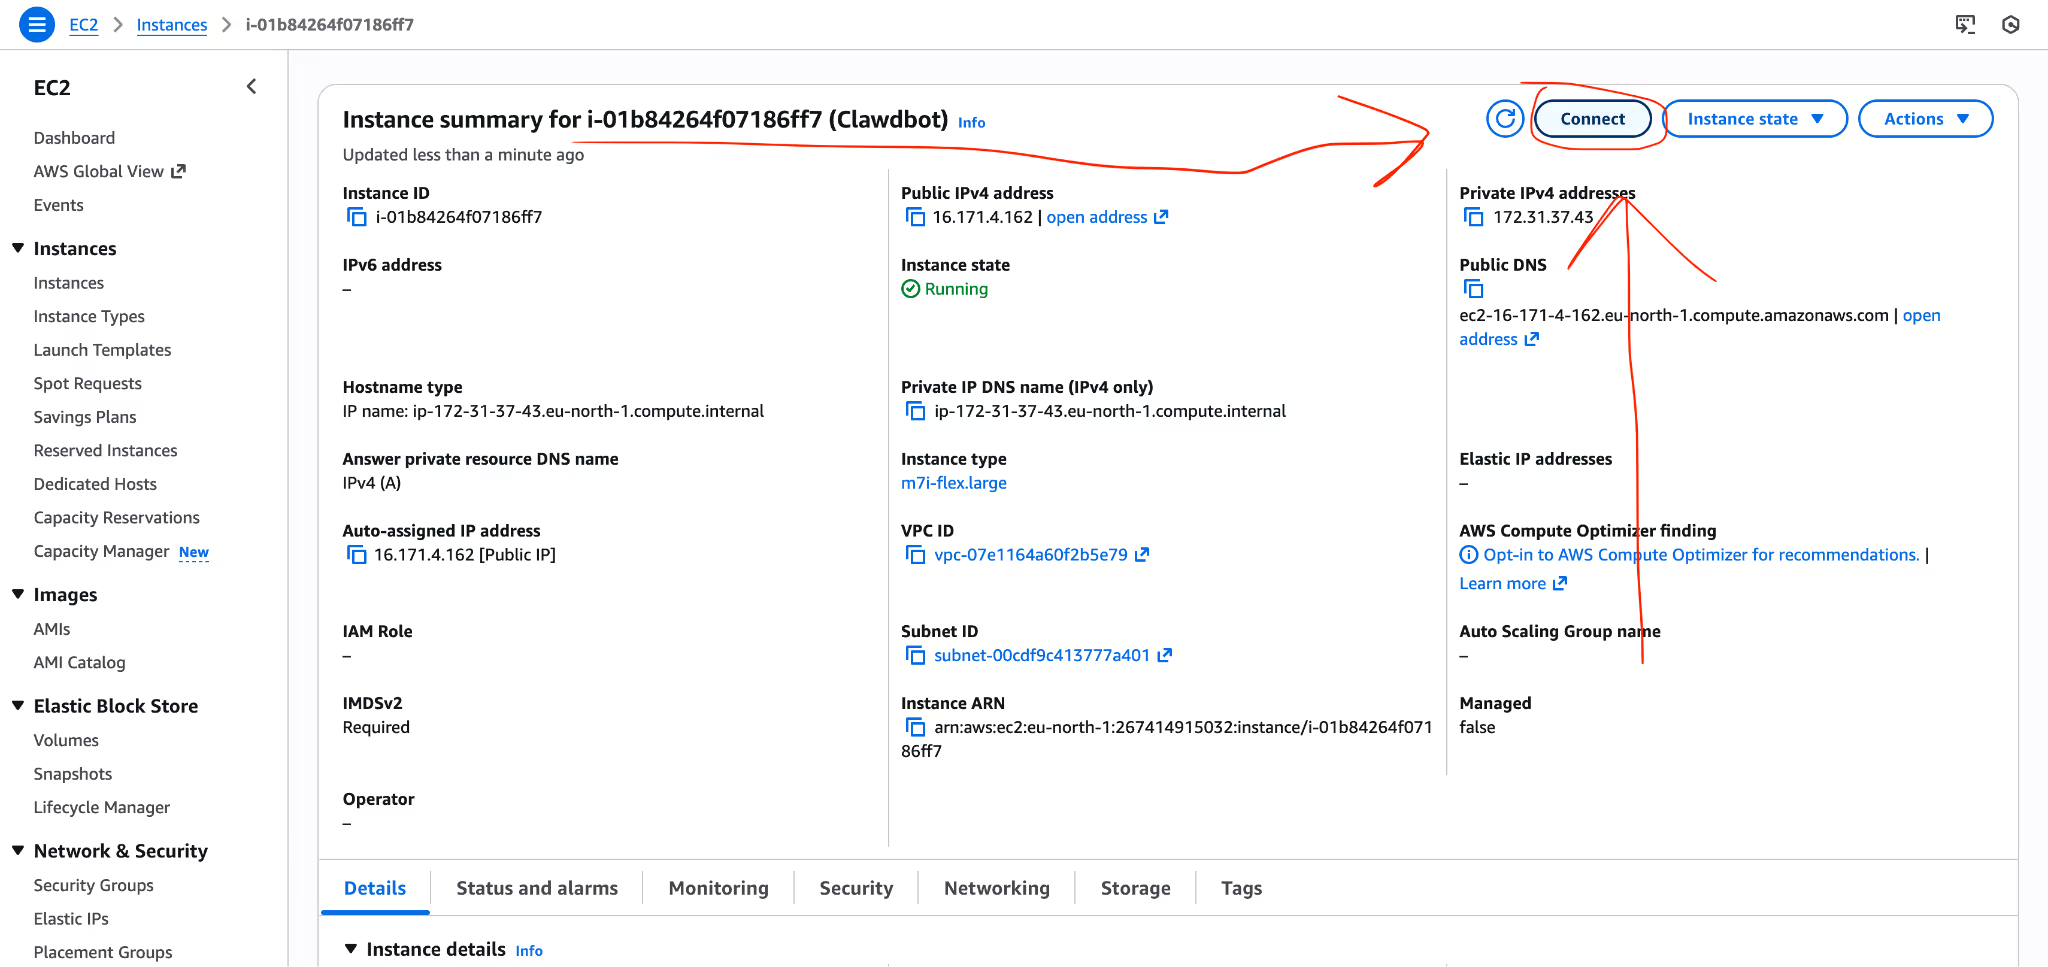
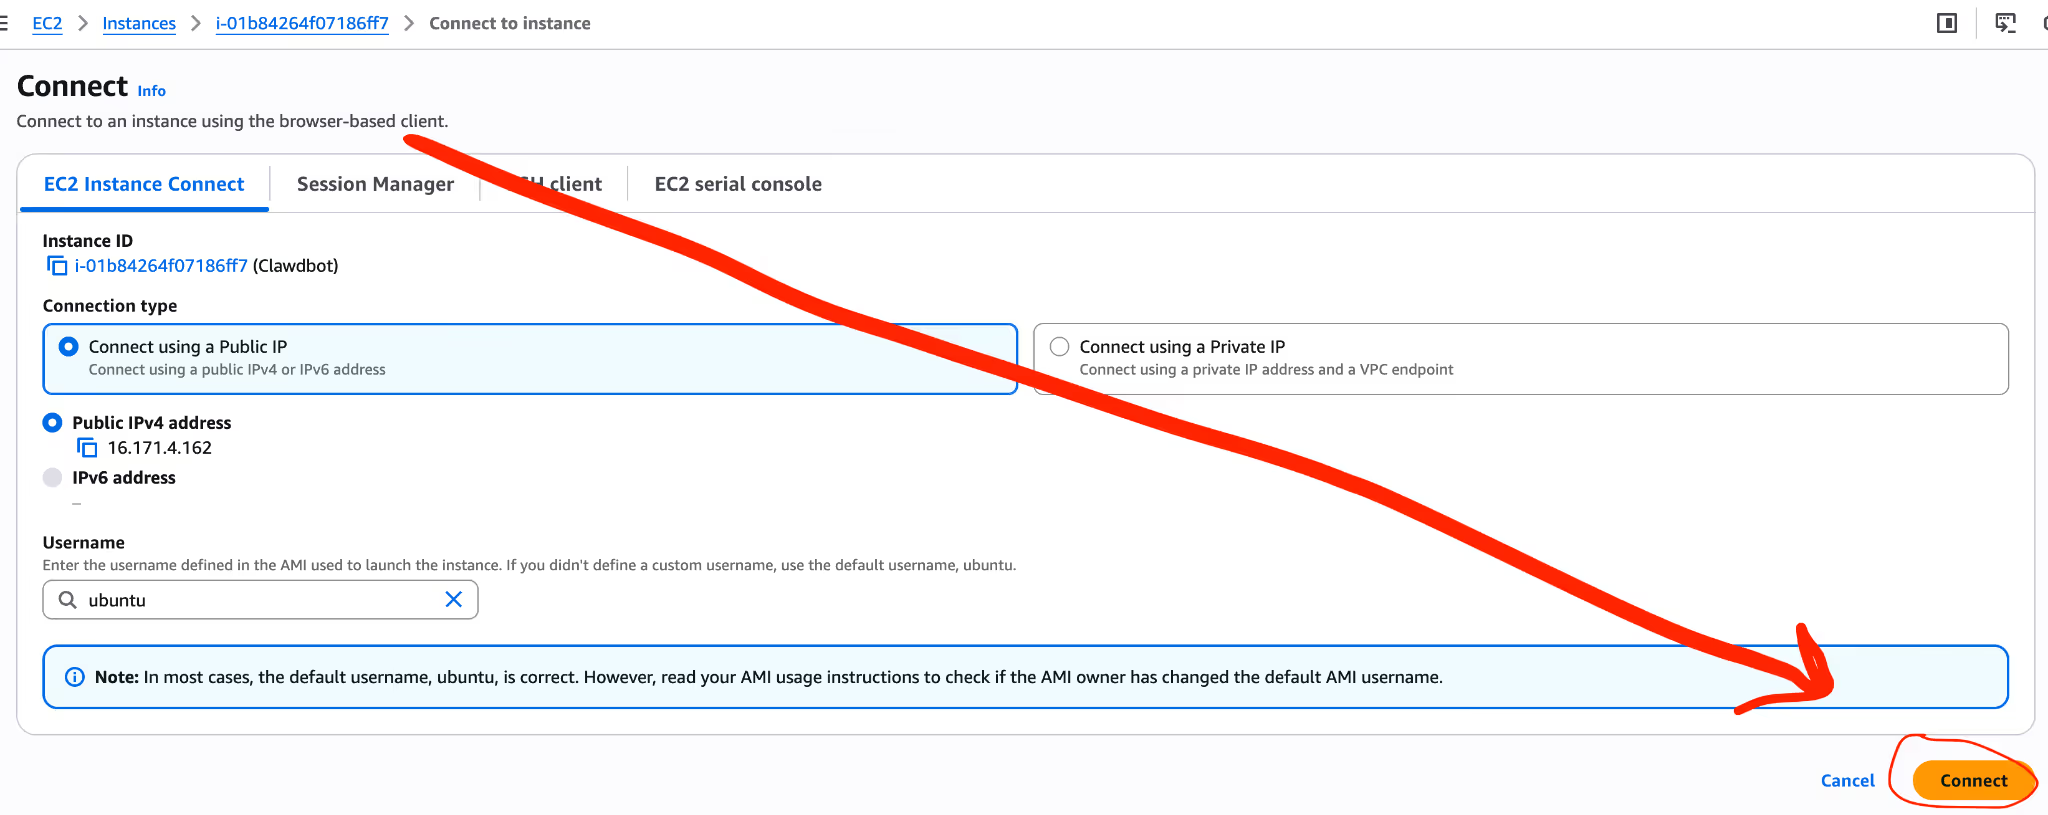
Once you are logged into your server terminal, you can install everything—Node.js, dependencies, and OpenClaw itself—with a single command.
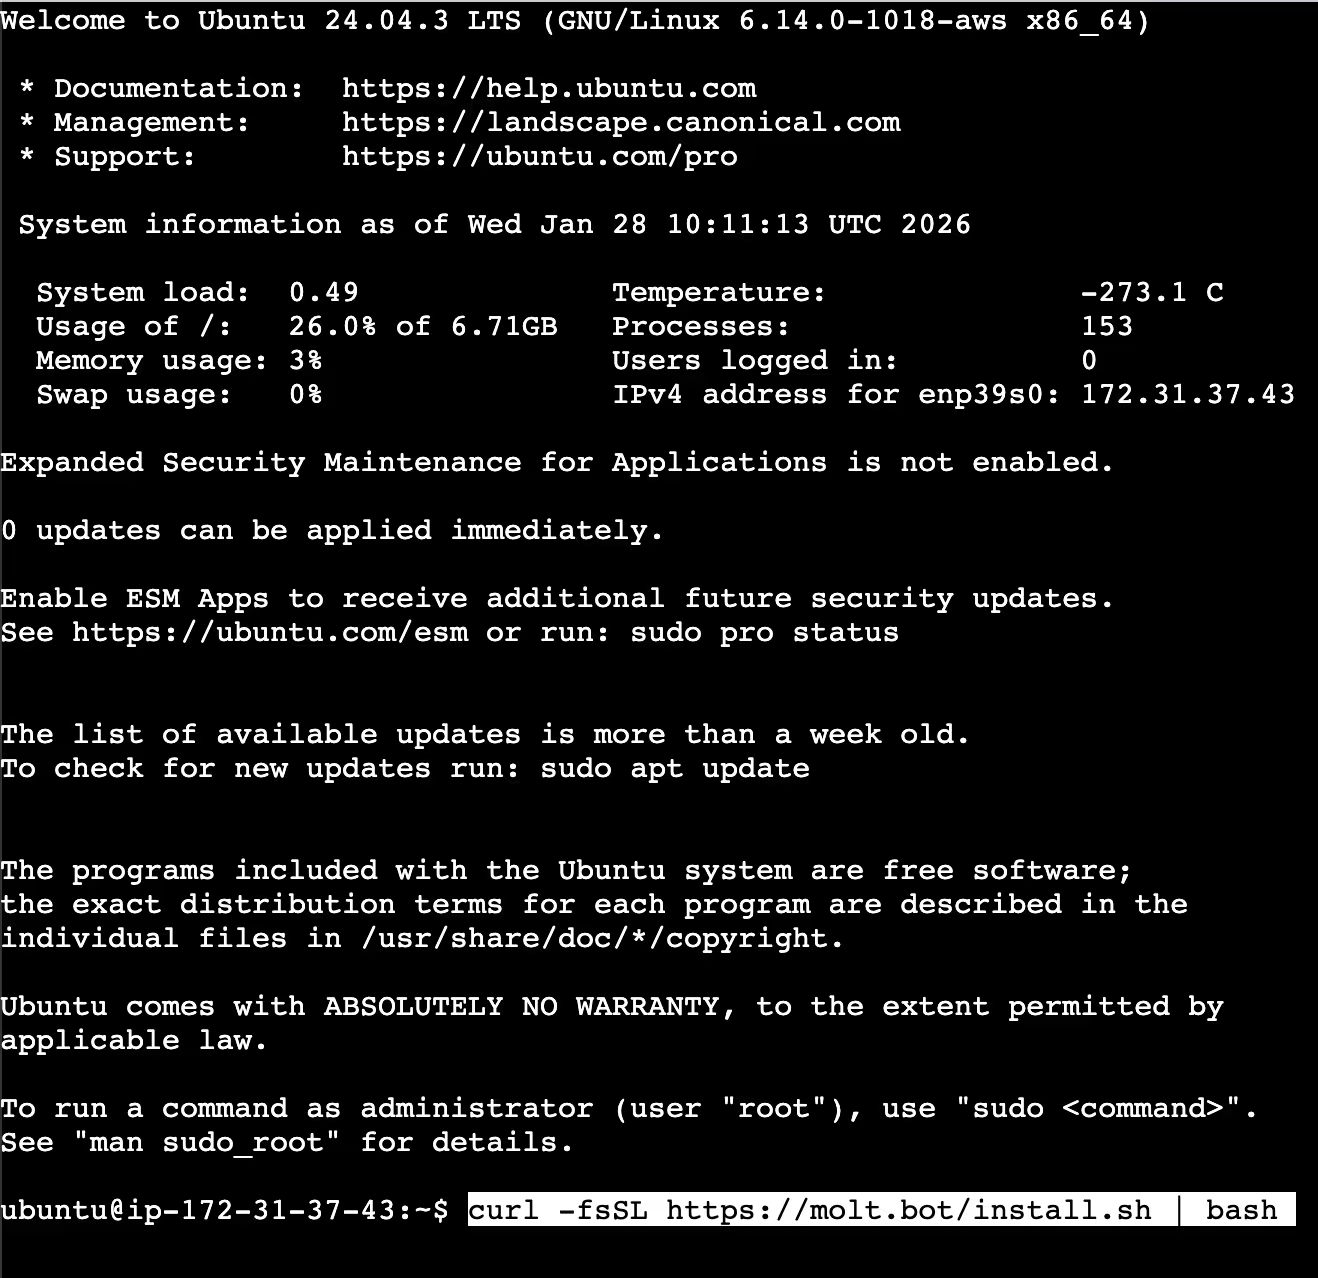
Run this (for due dilligence double check https://openclaw.ai/):
curl -fsSL https://openclaw.ai/install.sh | bashThis script will detect your environment and set up the OpenClaw Gateway. This is the "switchboard" that connects your AI to the outside world.
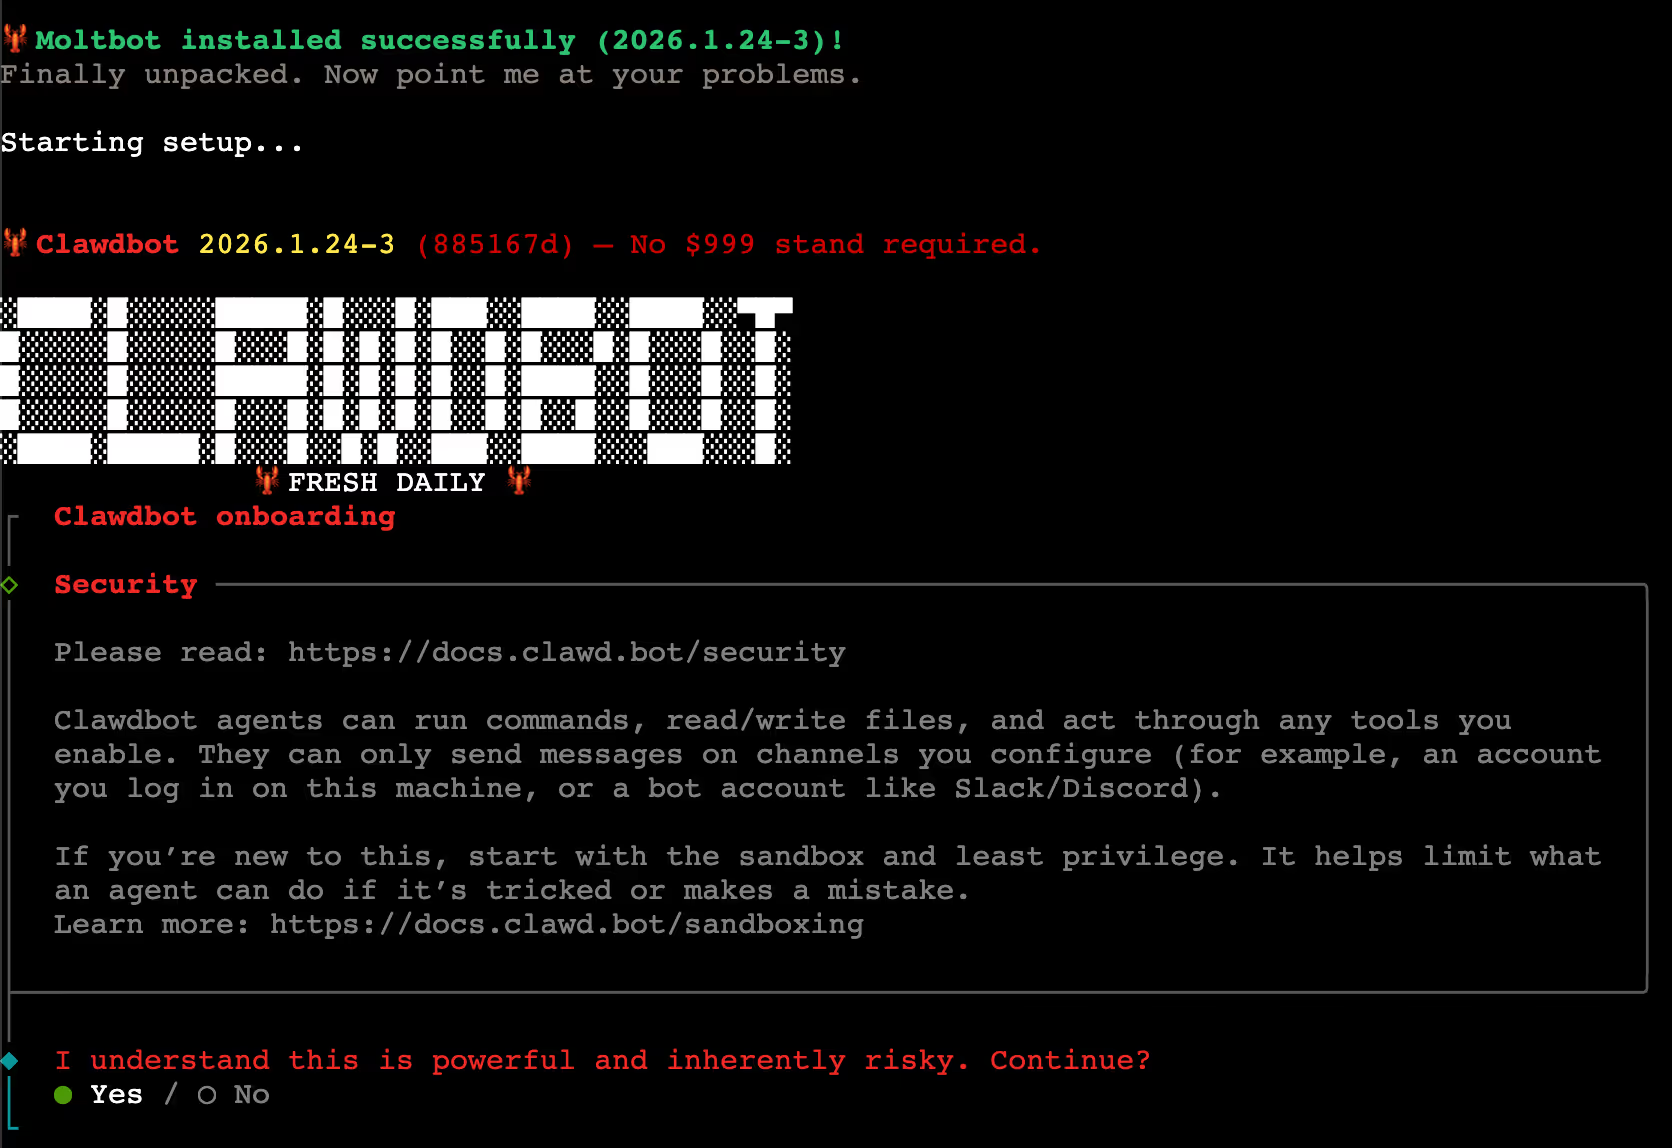
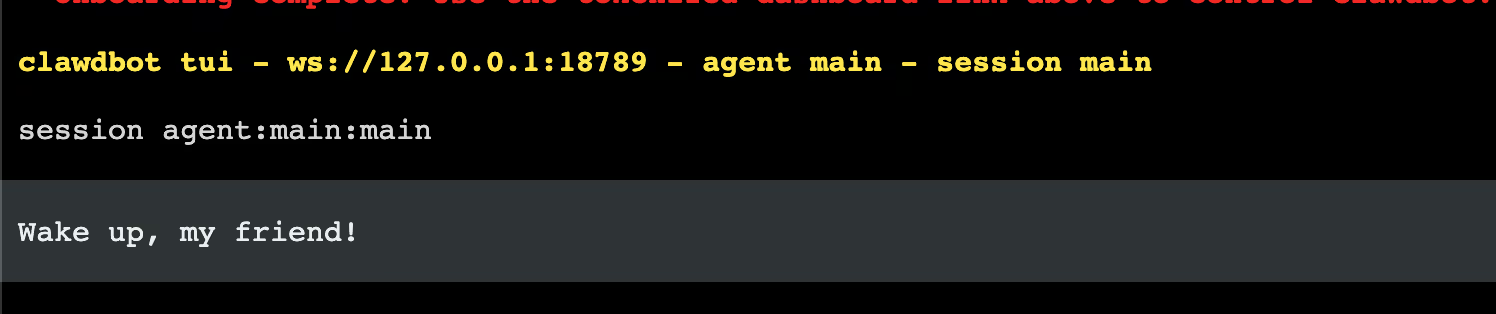
Step 3: Run the Onboarding Wizard
After the installation finishes, the interactive setup will launch automatically.
Here are the step to test it fast.

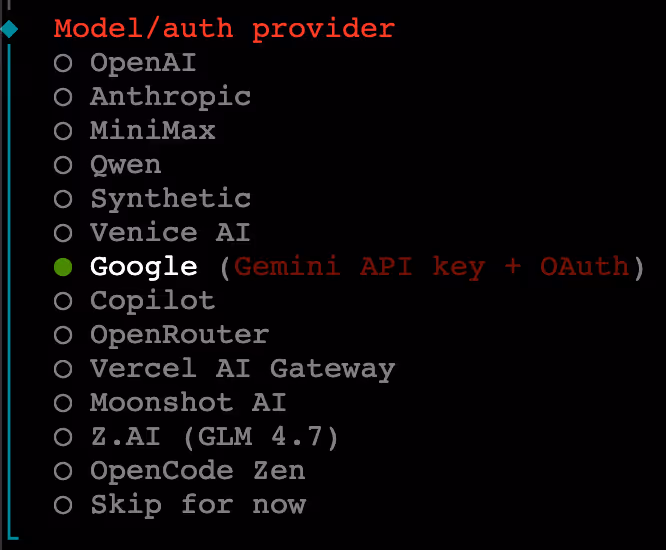

The Wizard will ask you for:
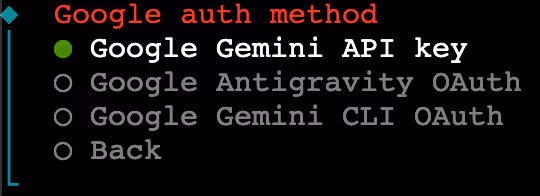
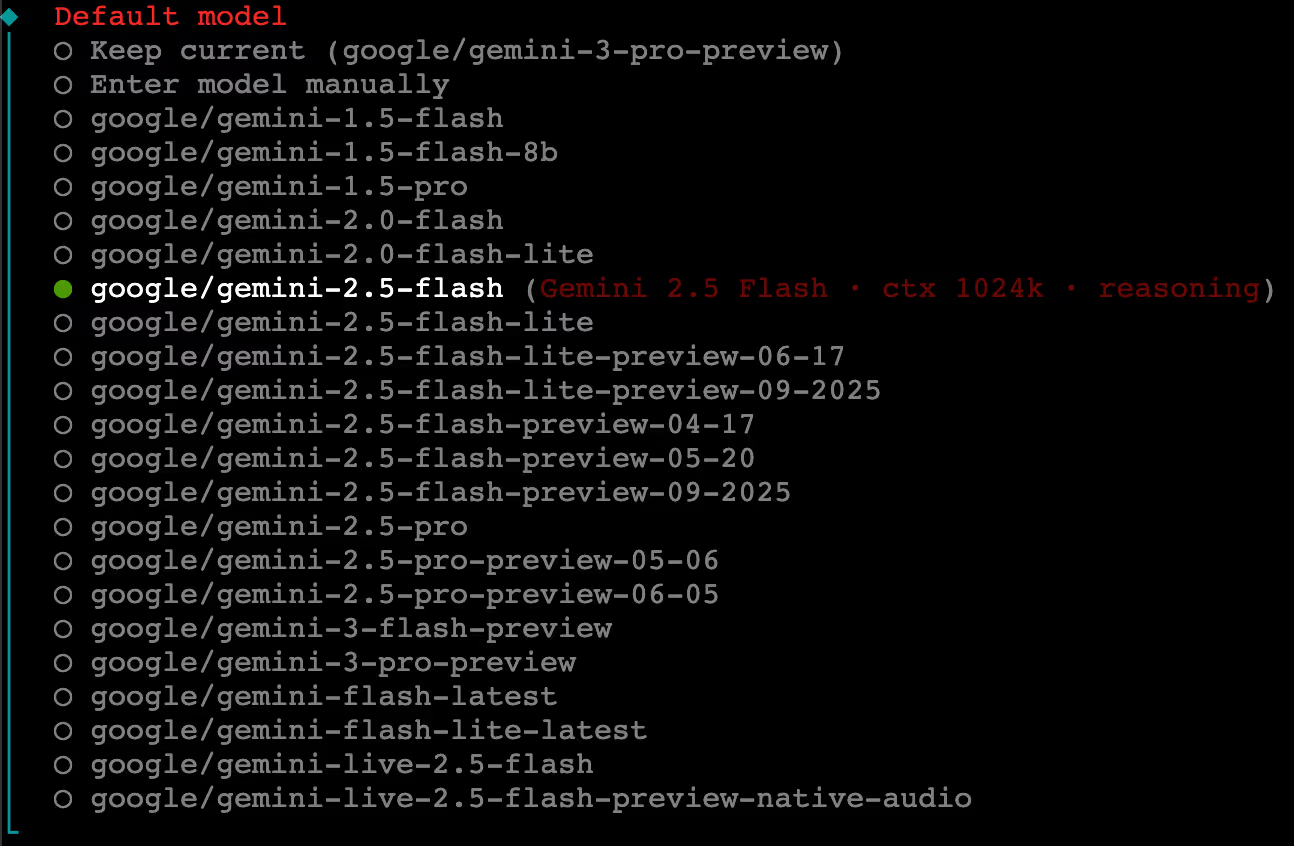
- Model Selection: Choose your model. You can use Claude 3.5 Sonnet or Opus (Requires an Anthropic API Key). Or on my side I use Gemini Flash 2.5 because it's cost effective.
- API Key: Paste your key from the Google Ai Studio.
- Check bis Step4. Channel: Select Telegram (This is the easiest and cheapest "UI" for your bot).
Step 4: Enjoy (we are almost done)


Step 5: How to launch it again
Go on your AWS.
Reboot Instance.
Wait a bit. (if you go too fast, you'll have an error with SSH in it)
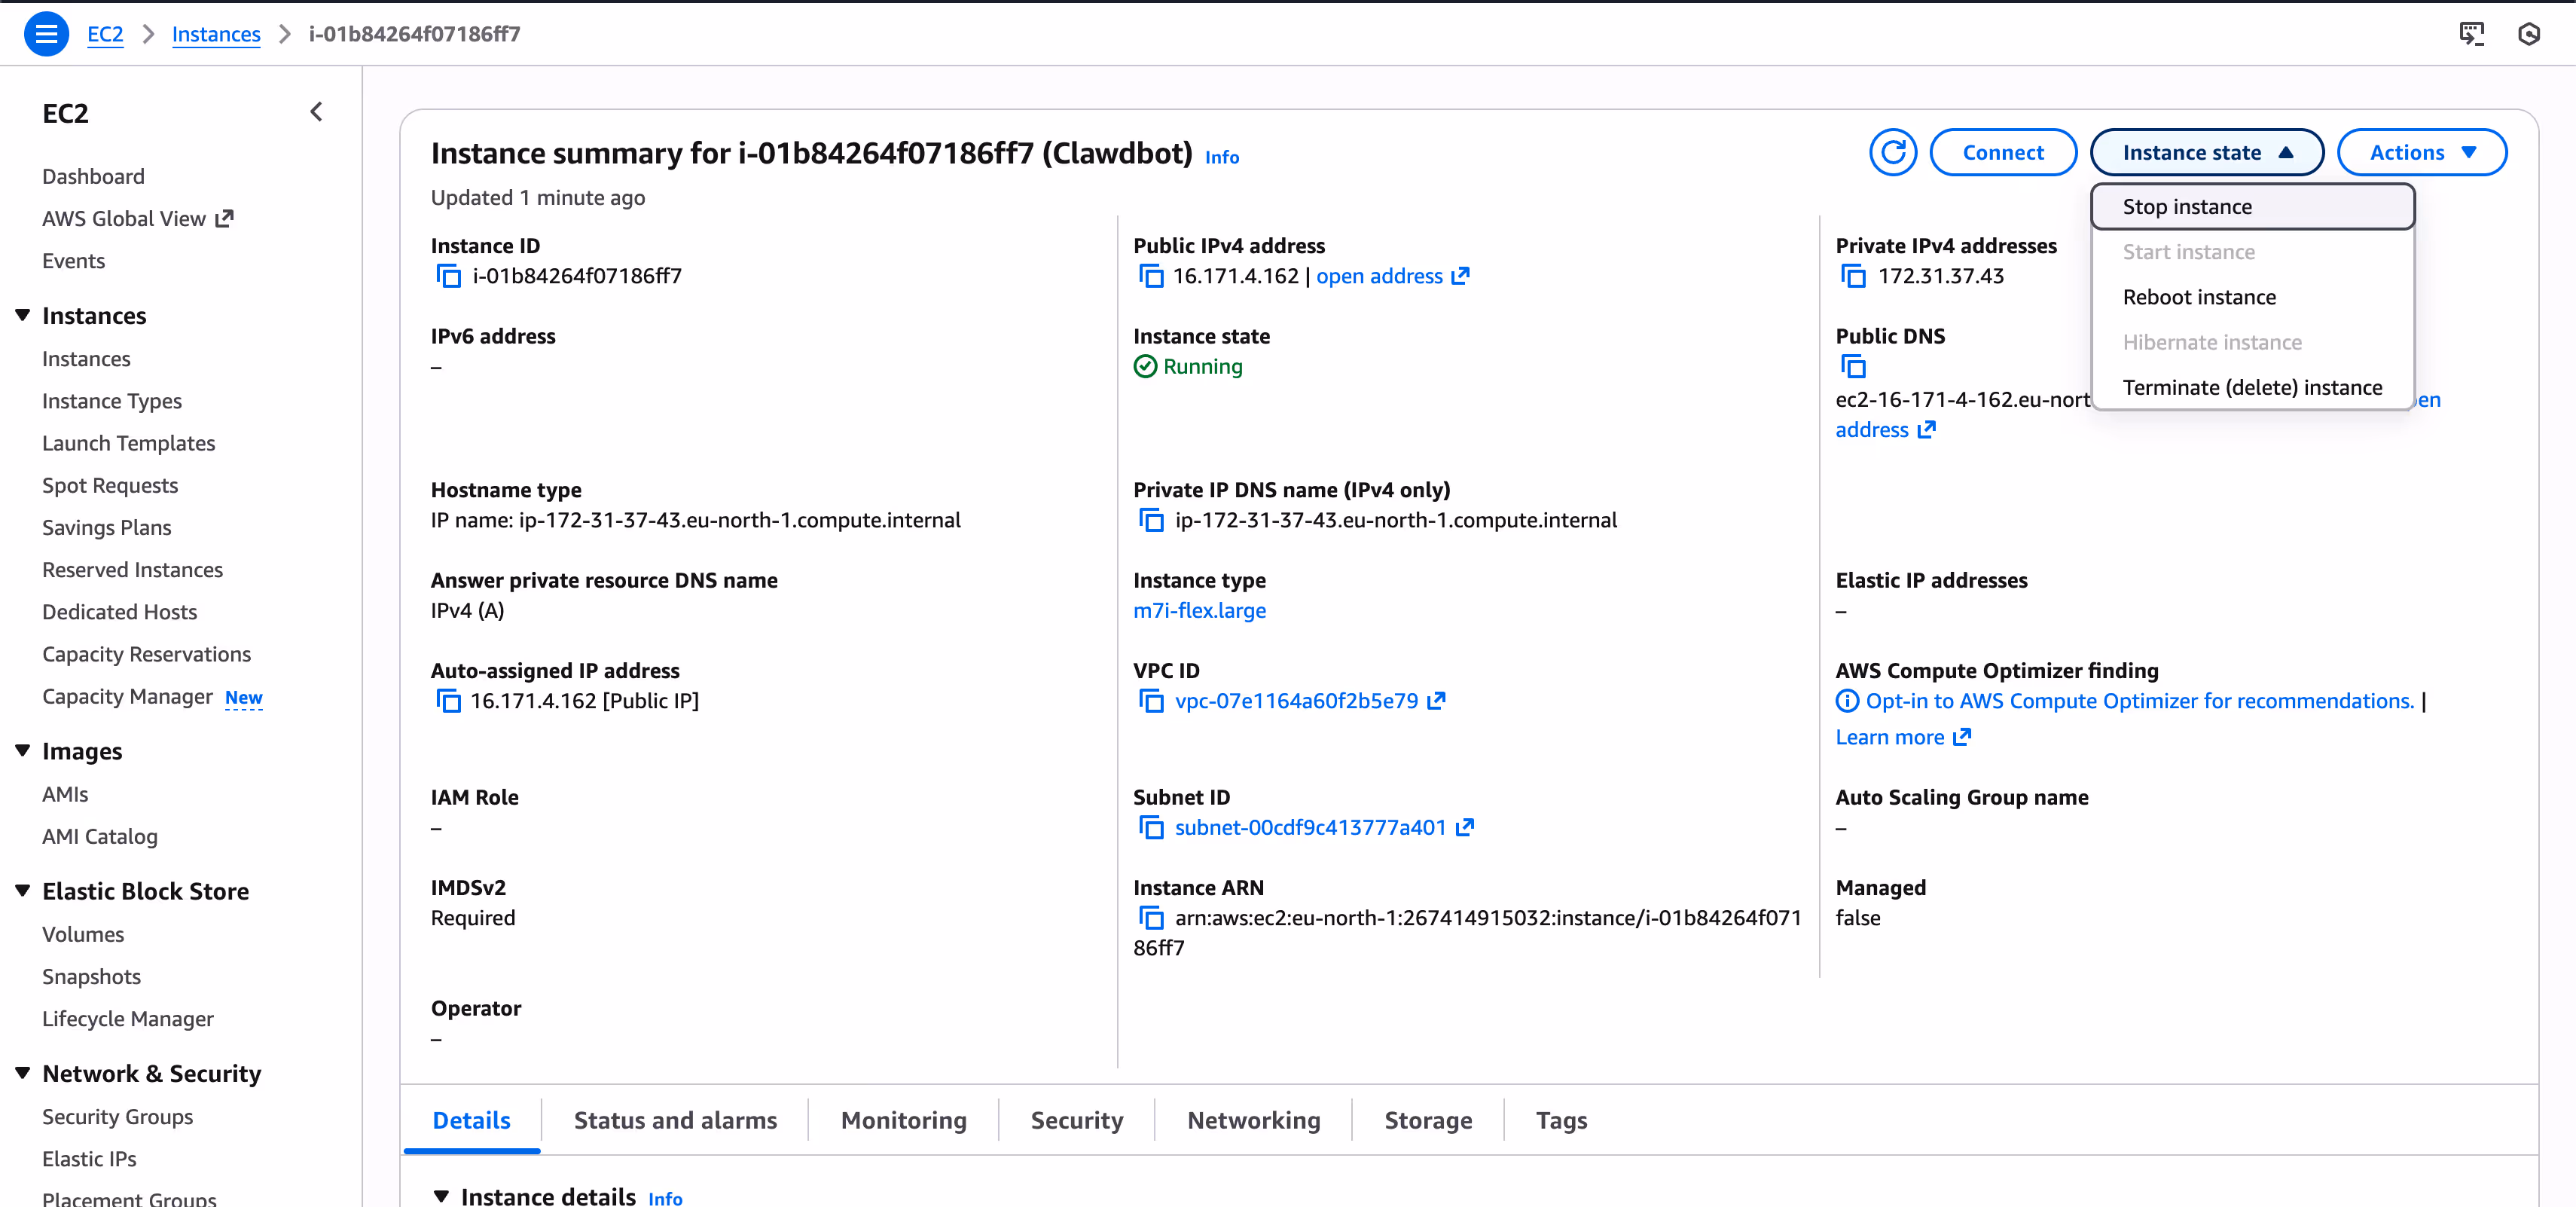
Connect again and enter this line in your terminal.
openclaw onboard
You can skip again or fine-tune your clawdbot ;)
Step 4bis: Connect Your "Remote Control" (Telegram)
Since you aren't using a Mac Mini with a screen, you’ll talk to ClawdBot through Telegram.
- Open Telegram and search for @BotFather.
- Type /newbot and follow the instructions to get your Bot Token.
- Paste that token into the ClawdBot wizard back in your terminal.
- The wizard will also ask for your User ID (get this from @userinfobot) to make sure only you can talk to your bot.
Step 5: Test and Automate
Once the wizard finishes, your bot is alive! Open your new Telegram bot and send a message.
Try these "First Commands":
- "What is your current status?"
- "Check my GitHub for any new issues."
- "Every morning at 8 AM, send me a summary of the top AI news."
Author Note :
Hope this guide was helpfull. It's not a perfect one and you'll find a lot of doc on youtube for each channel.
Be carefull if you install it on your own device. It's a recent git repo. We don't know yet if there are leaks or vulnerabilities.
As for the use, the guide here was the easiest way to understand and play with it. Be aware that token are consummed quite fast. Don't forget to put limit on your API ;)
Cheers !